Eleventy in a Box
A premium Eleventy starter kit for designers and developers who want to spend less time setting up the same project structure and more time designing distinctive websites.

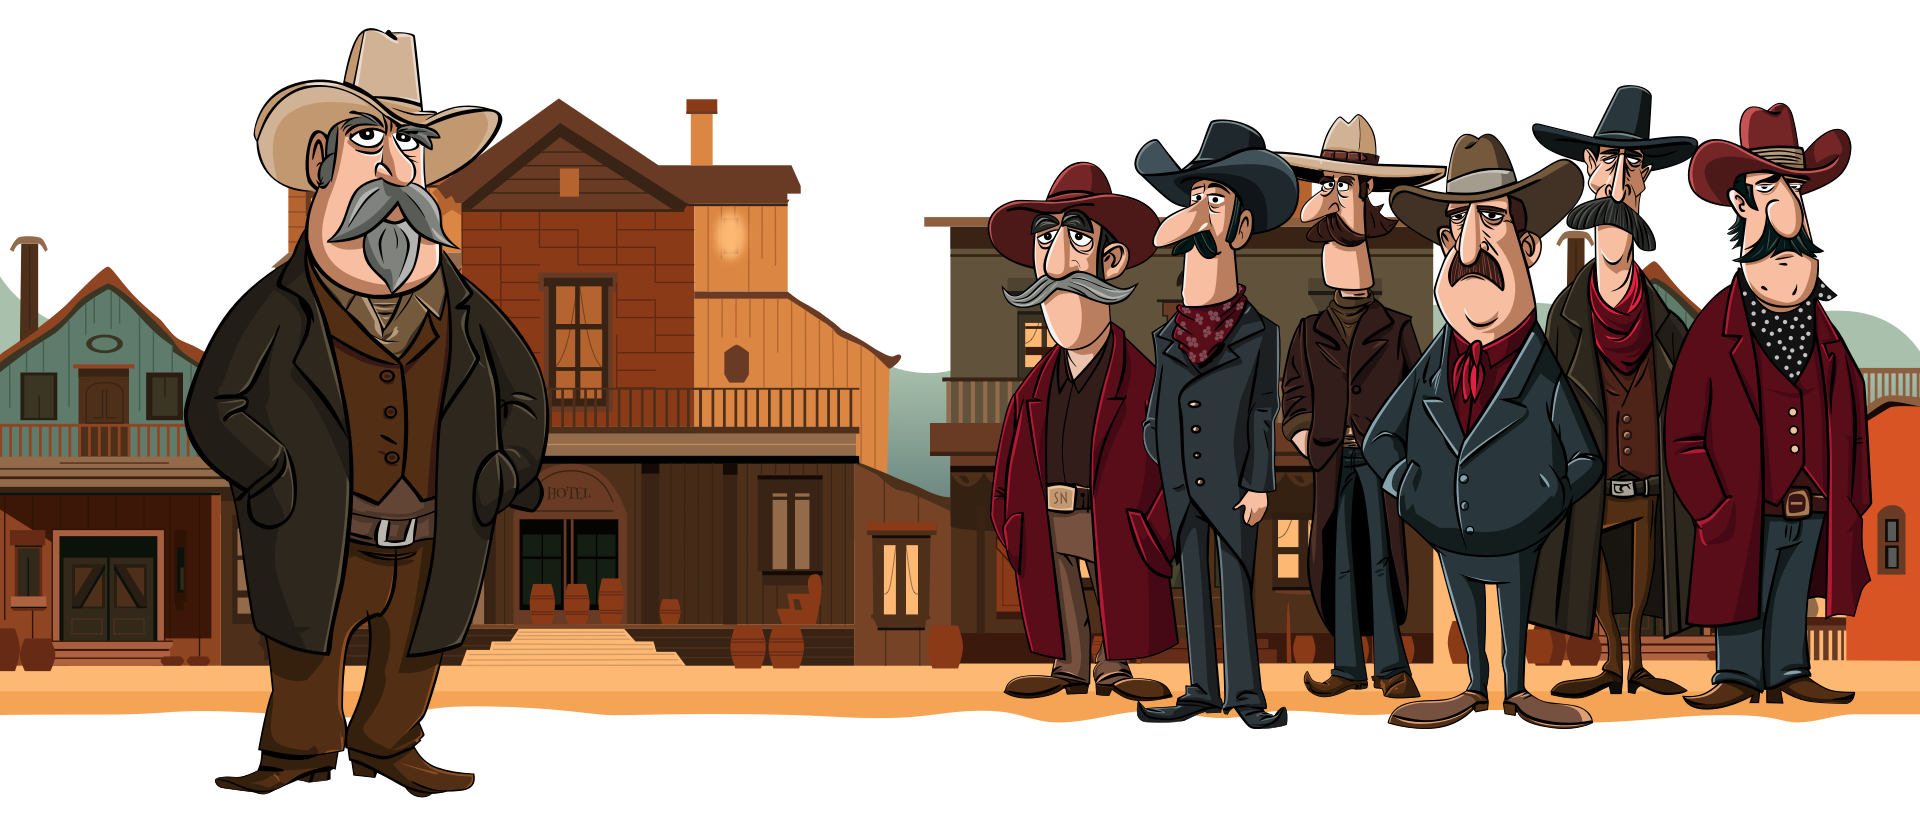
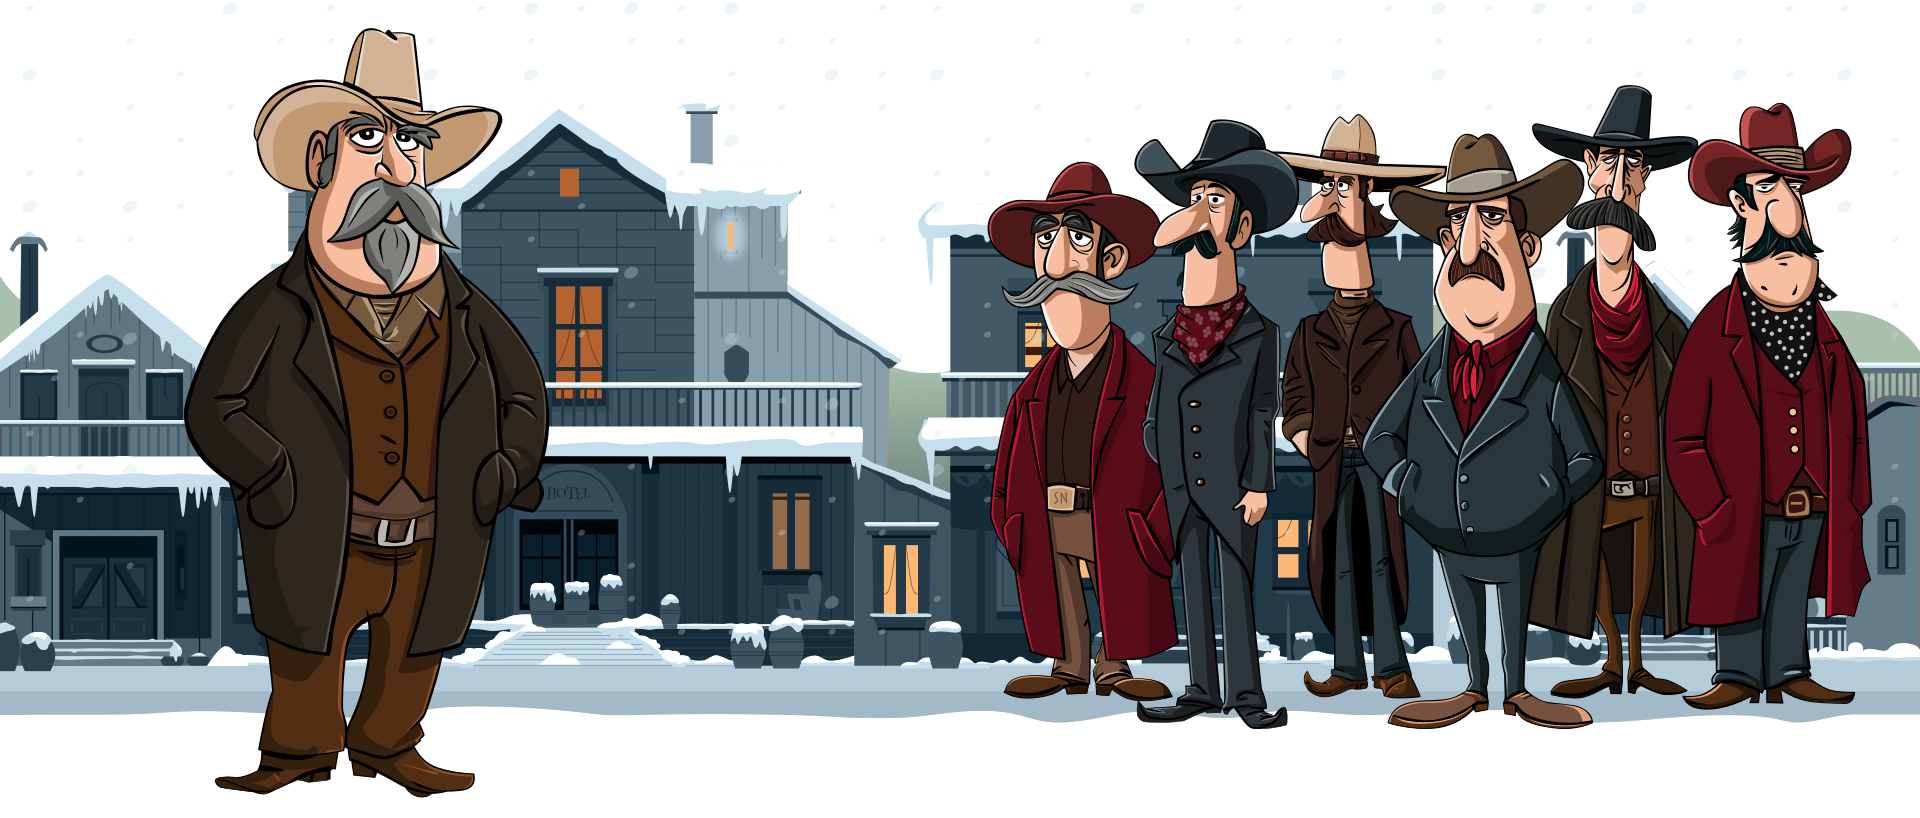
Although we’ve had a smattering of snow here in the Rhineland—where I’m basing myself for a couple of months—at home, an “arctic blast” means snow is threatening. Last week, I added a snow mode to my websites, but my pioneer characters still looked toasty and warm, and unaffected by the wintery conditions. So, it was time for them to get chilly.
I’ve been writing about CSS relative colour properties for Smashing Magazine, but until those articles land, here’s the short version.
Instead of specifying my characters’ skin tones in the SVG using a fill value:
<path fill="#F7F1ED" class="skin-highlight" d="[…]"/>
<path fill="#F7BEA1" class="skin-mid" d="[…]"/>
<path fill="#BA7E5E" d="[…]" class="skin-dark" />
And changing the colours via those class attributes, I removed the fill attributes altogether and replaced them with inline styles, which include custom properties:
<path style="fill: var(--skin-mid);" d="[…]"/>
<path style="fill: var(--skin-mid);" d="[…]"/>
<path style="fill: var(--skin-dark);" d="[…]"/>
Now, before you rush to your keyboard to tell me that inline CSS is bad, when used with custom properties, it’s very, very good indeed. As for those custom properties, they’re not just plain ol’ colour values; they’re a colour system. To start with, yes, I have those normal skin colours:
--skin-highlight-base: #F7F1ED;
--skin-mid-base: #F7BEA1;
--skin-dark-base: #BA7E5E;
I used them to turn Hex into OKLCH so I could manipulate each channel separately:
--skin-highlight: oklch(from var(--skin-highlight-base)
calc(l + var(--env-l))
calc(c * var(--env-c))
calc(h + var(--env-h))
/ calc(alpha * var(--env-a)) );
Those --env-* variables define how much each colour channel shifts. These are my placeholders, which leave the original colours untouched:
.outlaw {
--env-l: 0;
--env-c: 1;
--env-h: 0;
--env-a: 1; }
Snow mode is a toggle, so I then defined a new set of variables just for when it’s active:
.snow-mode .outlaw {
--chilly-l: -0.04;
--chilly-c: 0.35;
--chilly-h: -38;
--chilly-a: 1; }
Rather than changing the base environment values, I introduced a second set specifically for cold conditions. Then swapped the environment variables for chilly ones:
--skin-highlight: oklch(
from var(--skin-highlight-base) calc(l + var(--chilly-l)) calc(c * var(--chilly-c)) calc(h + var(--chilly-h)) /
calc(alpha * var(--chilly-a))
);
Then, I registered those properties to make them animatable:
@property --chilly-l {
syntax: "";
inherits: true;
initial-value: 0; }
@property --chilly-c {
syntax: "";
inherits: true;
initial-value: 1; }
@property --chilly-h {
syntax: "";
inherits: true;
initial-value: 0; }
@property --chilly-a {
syntax: "";
inherits: true;
initial-value: 1; }
And added a transition so the characters start off looking warm and then get progressively colder:
@media (prefers-reduced-motion: no-preference) {
.outlaw {
transition:
--chilly-l 15s ease,
--chilly-c 10s ease,
--chilly-h 10s ease,
--chilly-a 10s ease; }
}
I love adding surprise behaviours—especially ones that reinforce the idea that these characters are reacting to their environment. So now, when someone hovers over a chilly character, they also shiver:
@media (prefers-reduced-motion: no-preference) {
.snow-mode .outlaw:hover {
--shiver-duration: 0.5s;
--shiver-x: 1.5px;
--shiver-y: 0.4px;
animation: shiver var(--shiver-duration) ease-in-out infinite;
transform-origin: center bottom; }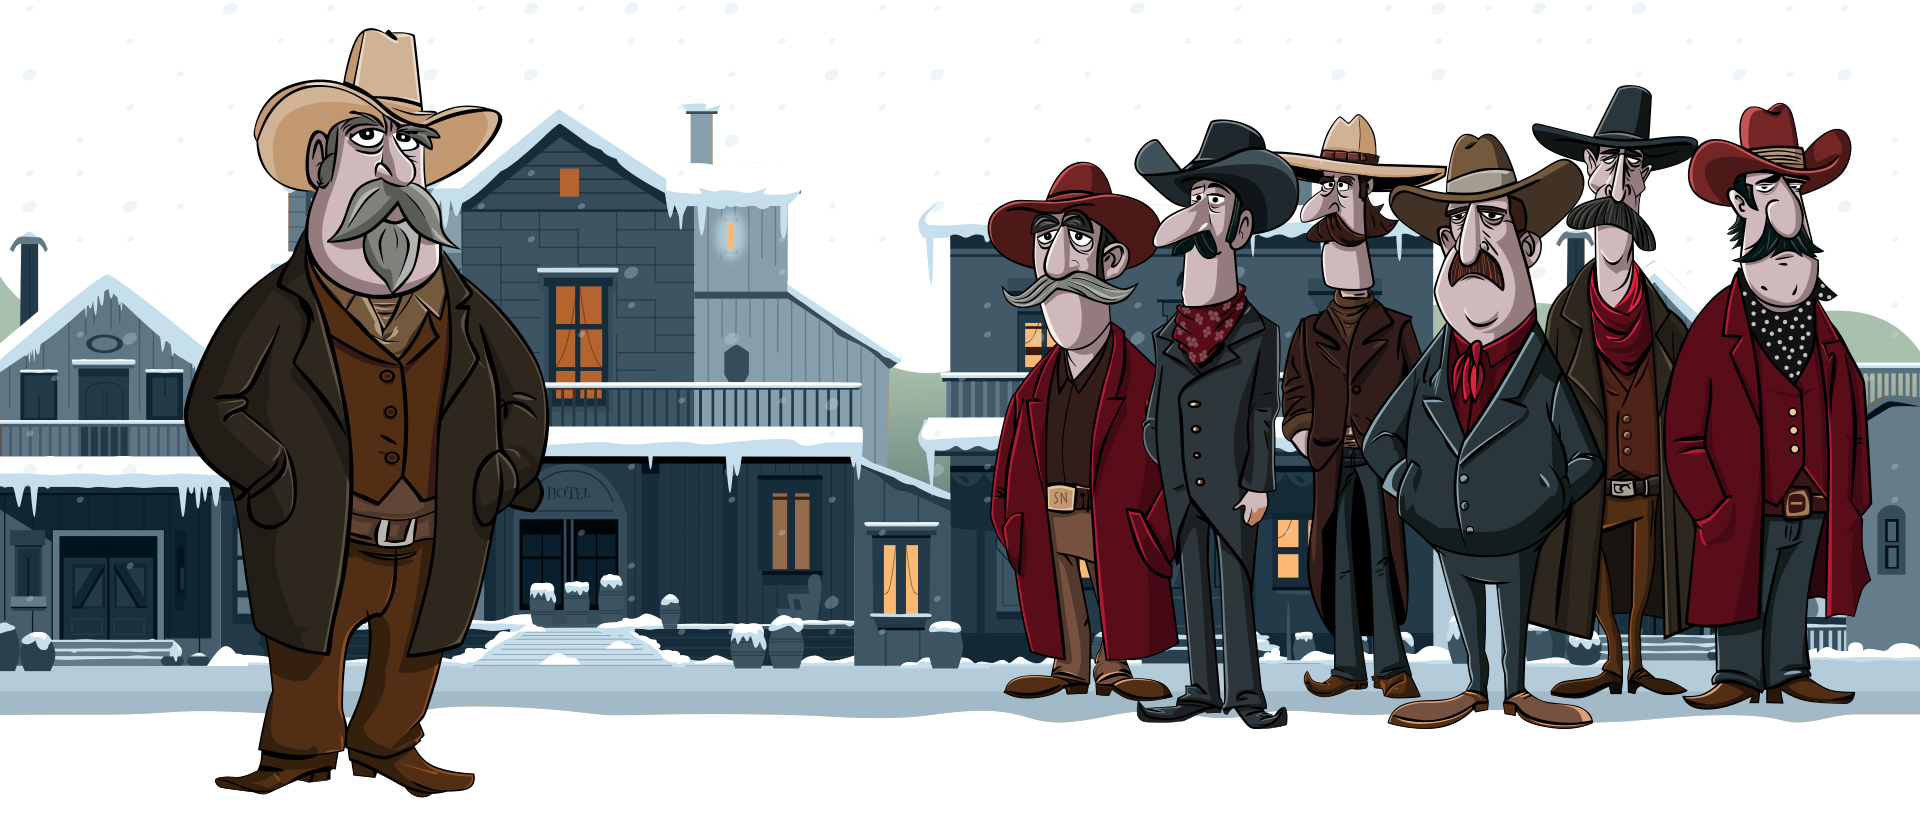
These are subtle changes, but they add to the fun. Most importantly, by changing the way I set up colour for my animated graphics, I can have much more fun more easily in the future.
Check out the new chilly characters on my home and blog pages.
A premium Eleventy starter kit for designers and developers who want to spend less time setting up the same project structure and more time designing distinctive websites.
Contract Killer is plain and simple and there’s no legal jargon. It’s customisable to suit your business and has been used on countless web projects since 2008.
Free compound grid and modular grid layout generators, plus a set of HTML/CSS layout templates you can call on to make more interesting layouts, available to buy.