Designing Zombie Hunt part five: Coding my designs
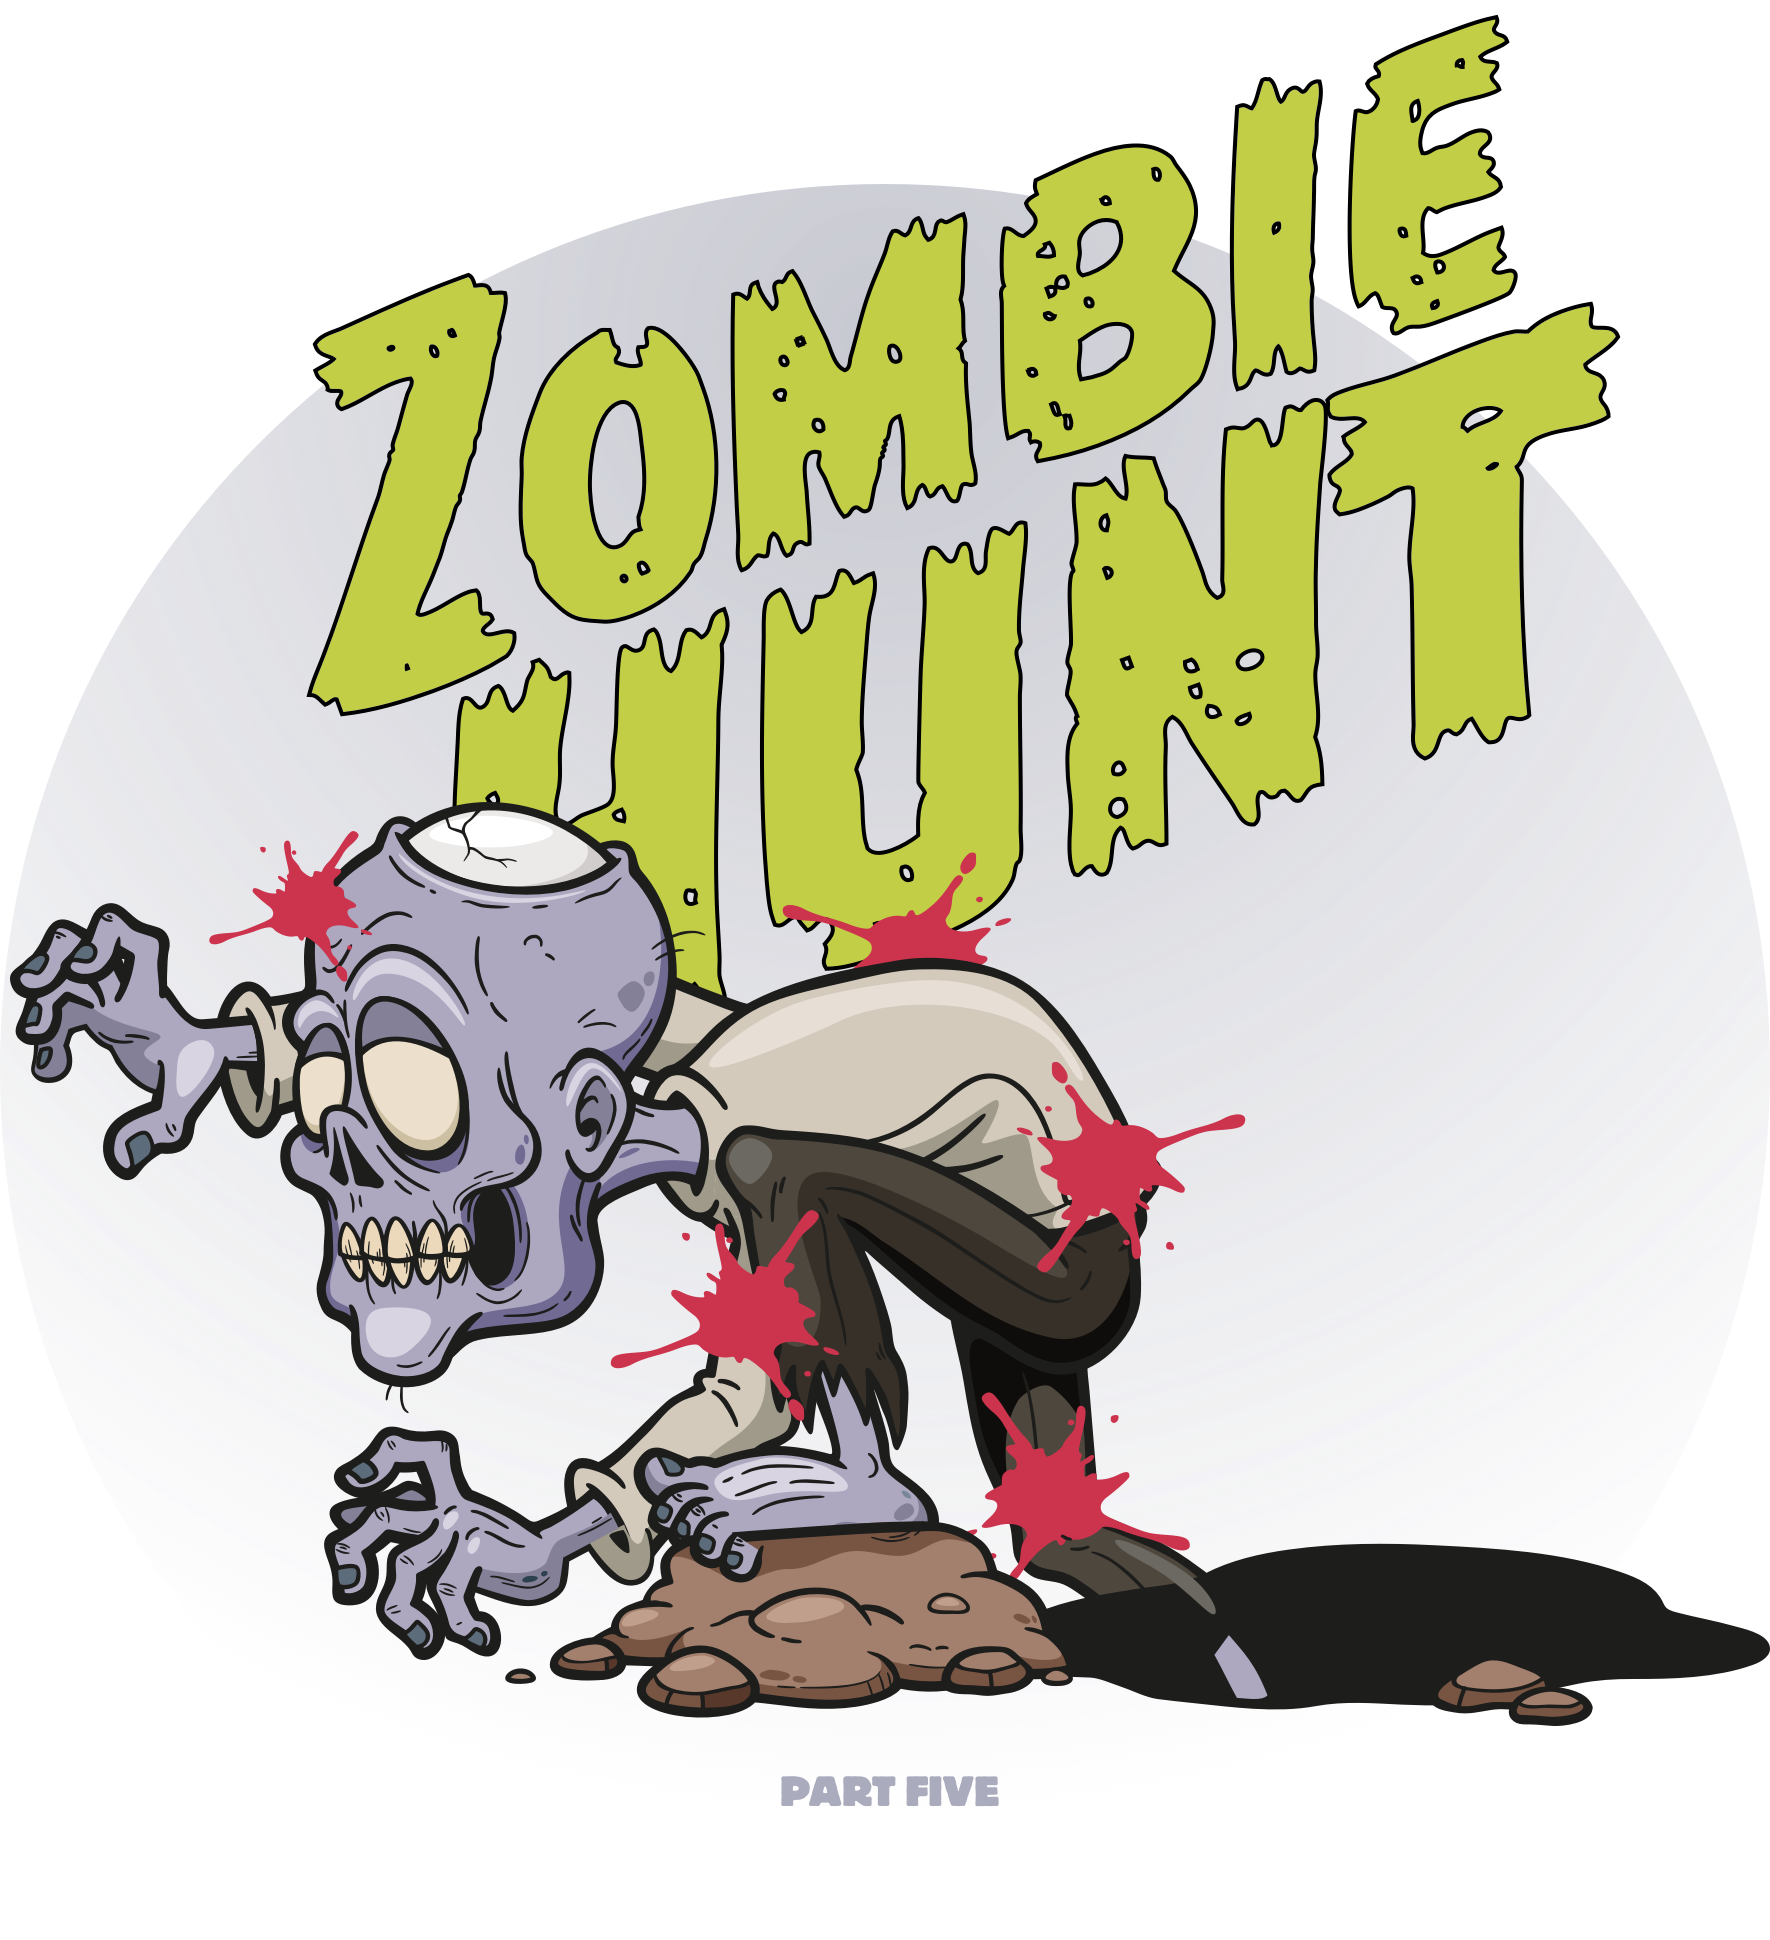
This week I’ve been diving deeply into how I approach projects, using a recent design for Zombie Hunt as an example. Yesterday, I wrote about catering for small screens. Today’s all about performance and accessibility considerations when coding my designs.
As HTML and CSS are deliverables for almost everything I design, accessibility and performance are just as crucial to my process as graphic design, layout, and typography.
Code is the fastest and most satisfying tool for designing a website like Zombie Hunt because experiencing my design in a browser frequently sparks new ideas. Designing in a browser also gives me a better understanding of how fast (or slow) a website will be for an end-user.
After just one or two rounds of creative concepts made using Sketch, I switch to code as quickly as possible using the toolkit of layout grids I released as Layout Love plus my own HTML/CSS boilerplate.
Optimising font performance
My boilerplate contains some proven techniques for helping designs to perform well. One of the biggest challenges for performance is fonts, so I keep the ones I use to a minimum and import only the styles and weights I need.
Sometimes I want to use a typeface so sparingly that it doesn’t warrant importing its font files. The graphic headlines set using CC Monster Mash are a good example of this.
After converting text to outlines, the file Sketch exports is 12kb. SVGOMG optimisation reduces it to 8kb. Whereas a FontSquirrel-converted WOFF2 file is 17Kb. Unless I’m using CC Monster Mash elements multiple times per page, importing the font file doesn’t make sense. Some people complain that text should never be set as a graphic for accessibility and SEO reasons. But, there are ways to ensure neither is compromised.
To help with performance, I preload WOFF2 versions of my custom fonts with link elements in the head:
<link rel="preload" type="font/woff2" href="block-berthold-heavy.woff2" as="font" crossorigin=""/>
<link rel="preload" type="font/woff2" href="merriweather-regular.woff2" as="font" crossorigin=""/>
Although it’s often tempting to link directly to fonts hosted on a service like Google Fonts, I get better performance by downloading and self-hosting them from the website. Font files can be surprisingly large, so to improve a website’s performance, I use the font-display descriptor when importing a font:
@font-face {
font-family: block-berthold-heavy;
src: url(block-berthold-heavy.woff2) format("woff2");
font-display: swap; }
Font-display allows me to specify how fonts render while they’re being downloaded. Do I want the text to remain invisible (flash of invisible text), or would I prefer to show a fallback font until a custom font has loaded (flash of unstyled text)? The font-display: swap value tells a browser to display a fallback font while it downloads a custom font. Whereas with block, a browser hides text until a font has been downloaded.
Optimising graphics
I now use SVG as much as possible as scaleable graphics perform and scale better than bitmap images. But, graphics exported from Adobe Illustrator, Affinity Designer, and Sketch still need extra work to get the smallest file sizes. SVGO Compressor—a plugin for Sketch—goes some way to remove unnecessary bloat from SVGs. But, I still heavily rely on Jake Archibald’s SVGOMG and use it to optimise every SVG I make.
The more familiar I’ve become with how SVG is constructed, the happier I am to edit it by hand. As SVG is an XML-based markup language, it makes sense to include it inline with HTML for better performance and fewer network requests. Inline SVG is rendered along with HTML, so there’s also a perceived speed increase speed as graphics appear instantly.
SVG placed in line with HTML can’t use the cache, so repeated graphics such as the small Zombie Hunt logo and social icons must be downloaded for every page. But, this isn’t an issue for the large zombie graphics, which appear only once.
Working with inline SVG can also be unwieldy while editing. I fold those lines of code in my editor and use partials in CodeKit to avoid seeing inline SVG.
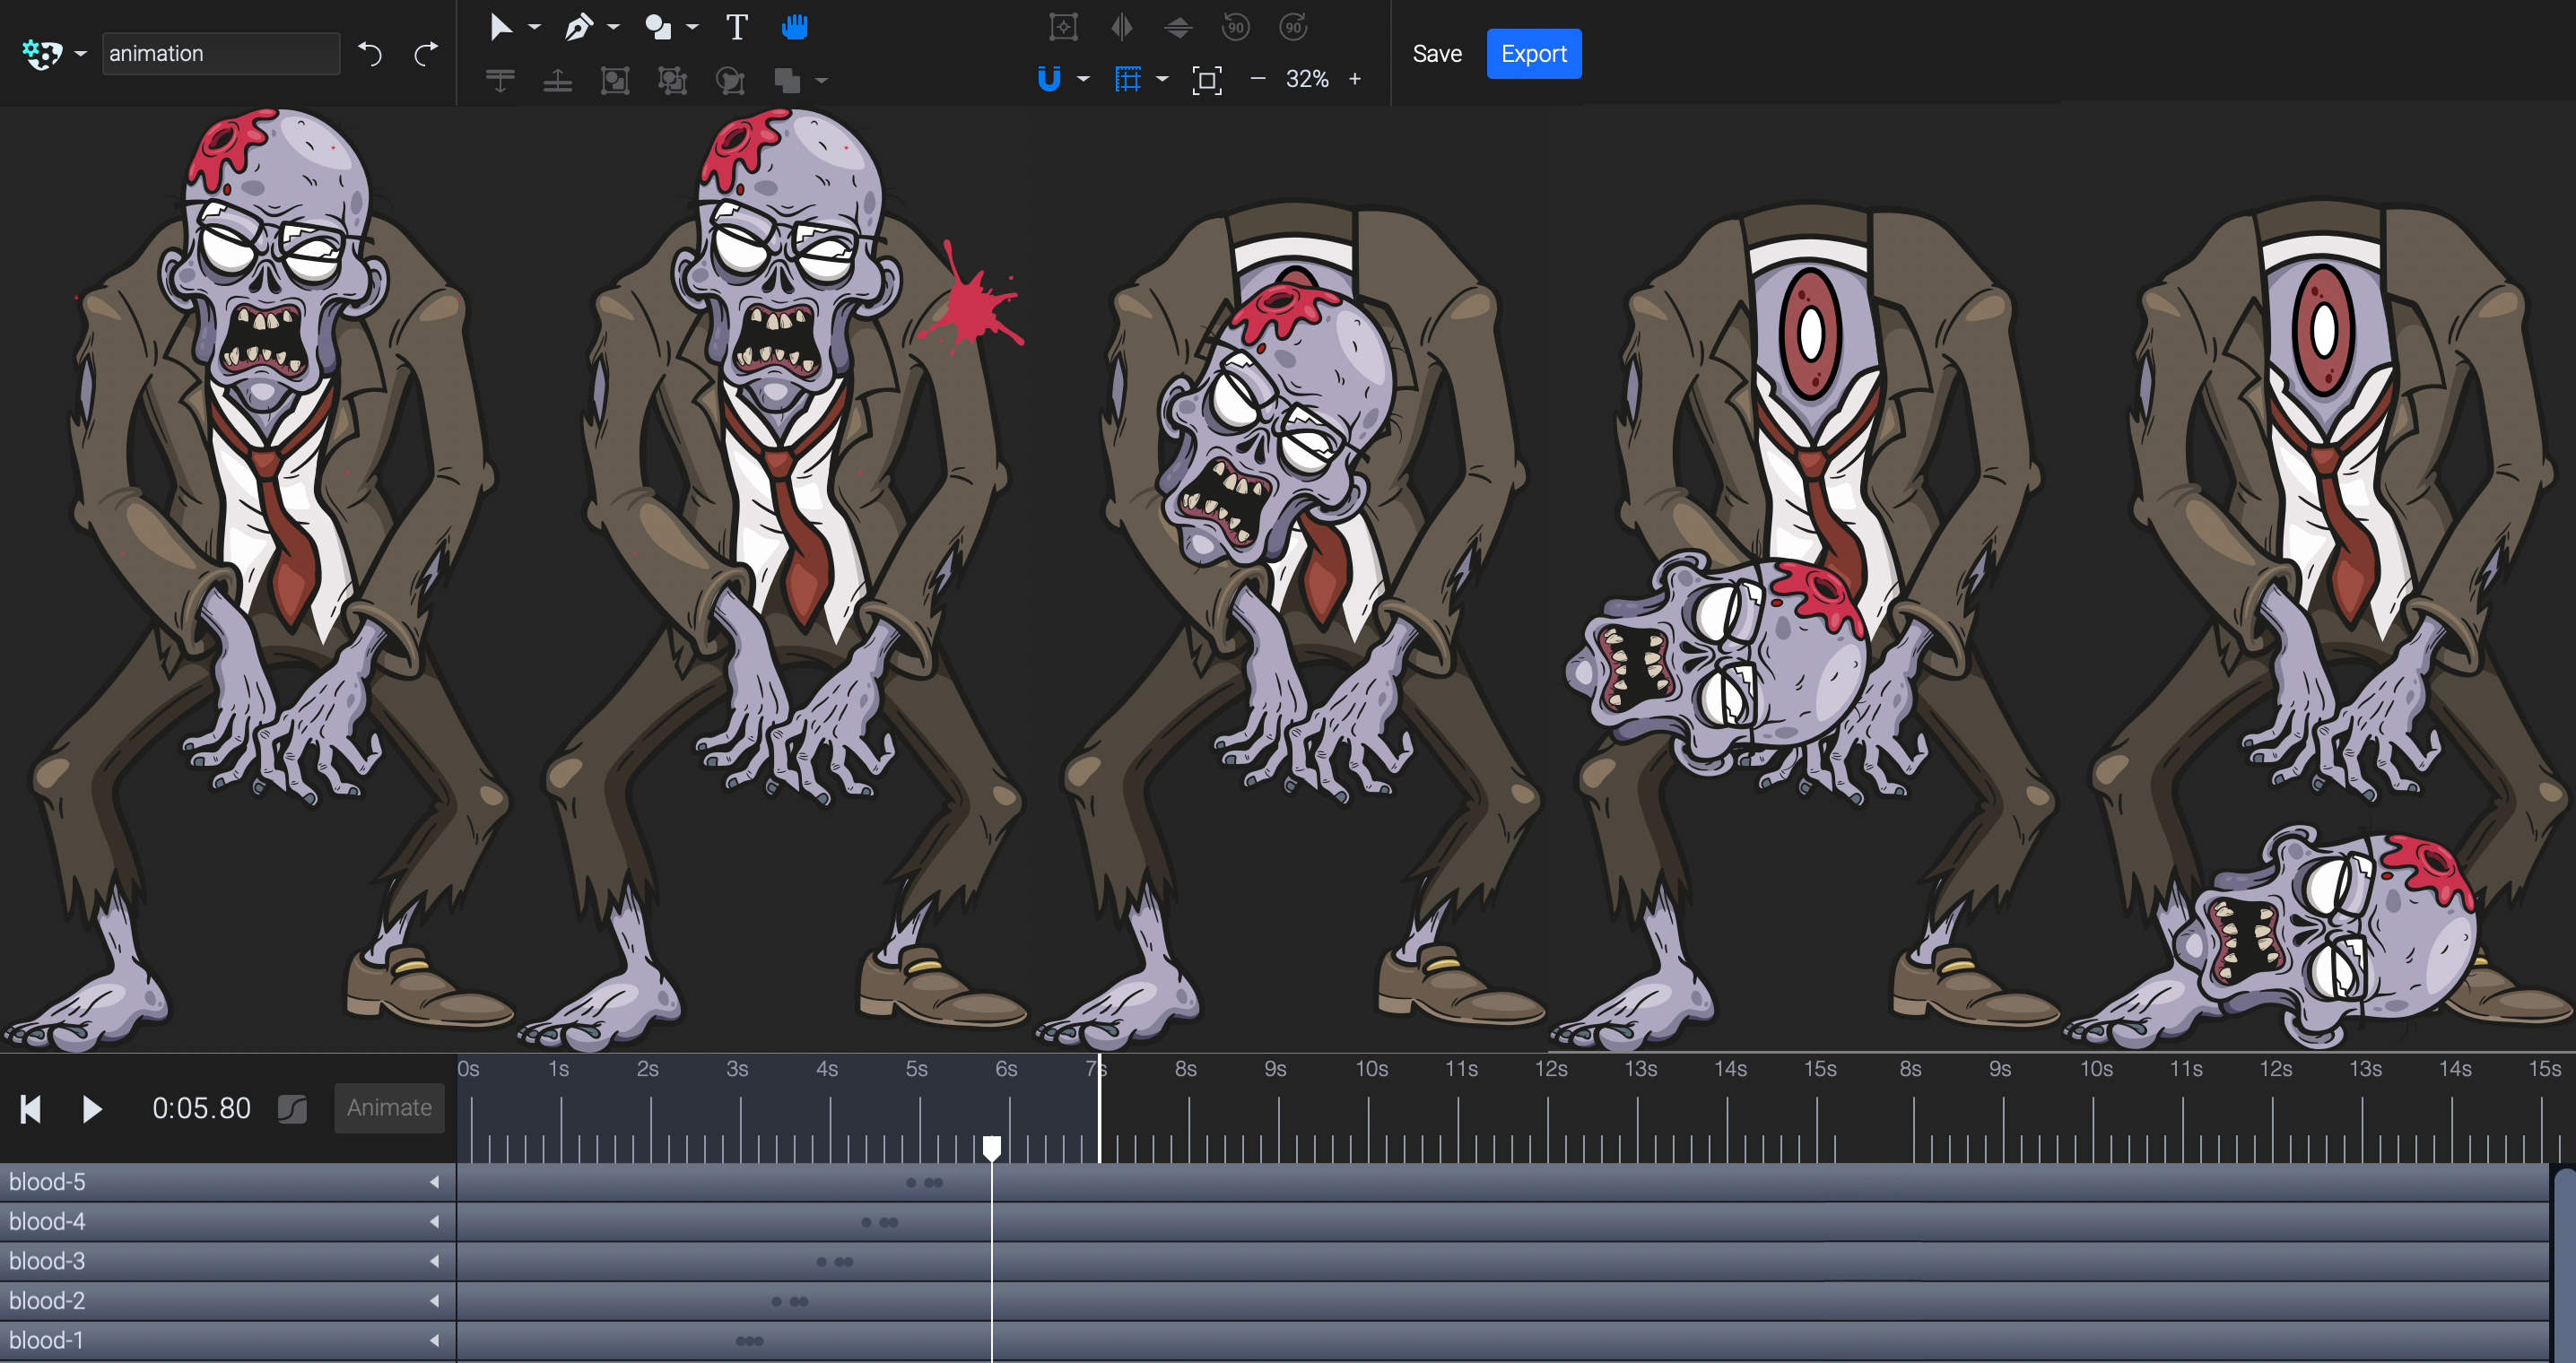
Optimising CSS animations
One of the advantages of inline SVG is being able to animate and style it using CSS. The Zombie Hunt design includes several CSS animations, some subtle, others far more apparent.
Animate.css by Daniel Eden and others is a fabulous animation library. Instead of including their entire library—including animations I don’t use—I cherry-pick animations I need from their repo and add them to my stylesheet.

The Zombie Hunt logo pulses when hovered and is splattered with blood when pressed:
<svg class="banner__logo">
<path class="logo-text">…</path>
<path class="logo-splat">…</path>
<path class="logo-tagline">…</path>
</svg>
To make the logo pulse, I attached the Animate.css pulse animation:
.banner__logo:hover {
animation-name: pulse;
animation-timing-function: ease-in-out;
animation-duration: var(--animate-duration); }
The splat is in the middle of the logo. To make it appear when pressed, I simply attached a zoomIn animation:
.banner__logo:active .logo-splat
.banner__logo:focus .logo-splat {
animation-name: zoomIn;
animation-duration: var(--animate-duration);
animation-fill-mode: both; }
For efficiency and to reduce the amount of code I needed to write, I reused the same animations to make the blood splatters in each zombie illustration appear.

I also used either slideInLeft or slideInRight animations to add movement to those giant zombies.
Animate.css is incredibly useful for adding small CSS animations but SVGator takes animating SVG to a higher level. SVGator is a timeline-based, online tool for “animating illustrations, logos, icons, and more.” It can morph SVG shapes, rotate, scale, and skew paths, change fill colours and opacity, and adjust stroke properties. SVGator exports both CSS and Javascript animations.
Optimising accessibility
The lines between HTML and SVG are blurring, which helps performance and accessibility. But there are a few extra steps I can take to optimise accessibility while satisfying my own obsessive tendencies about code.
While the img element has its alt attribute to describe the content of an image, there’s no equivalent for inline SVG. Instead, I add a title element inside each graphic:
<svg class="banner__logo">
<title>Zombie Hunt home</title>
</svg>
Links to social media accounts which use only an SVG icon and contain no text can also raise accessibility issues. So, I also include meaningful link text and hide it from visual browsers using an accessible CSS technique:
<a href="/">
<svg>…</svg>
<span class="sr-only">Zombie Hunt on Facebook</span>
</a>
I combine both approaches with any large graphic which contains text, like the zombie image on the website’s home page:
<h1 class="sr-only">Zombie Hunt ~ Ultimate zombie shooting experience</h1>
<svg id="banner-index">
<title>Zombie Hunt home</title>
</svg>
And add an aria-level whenever a non-semantic element needs extra meaning applied:
<div role="heading" aria-level="1">
<span class="sr-only">Choose your adventure</span>
</div>
Considering both accessibility and performance shouldn’t be done in a testing phase after design and development. It should be an integral part of the design process and influence every decision we make. When I stopped thinking of accessibility and performance as separate from my design process, I really enjoyed the creative opportunities they present.
I spend most of my time designing digital products. In choosing to take on other projects, they must either give me creative freedom, offer an opportunity for me to experiment and learn, or I feel I can add value and want to help. Zombie Hunt satisfied all those criteria, and I enjoyed working on its design. I hope you enjoyed reading about it.